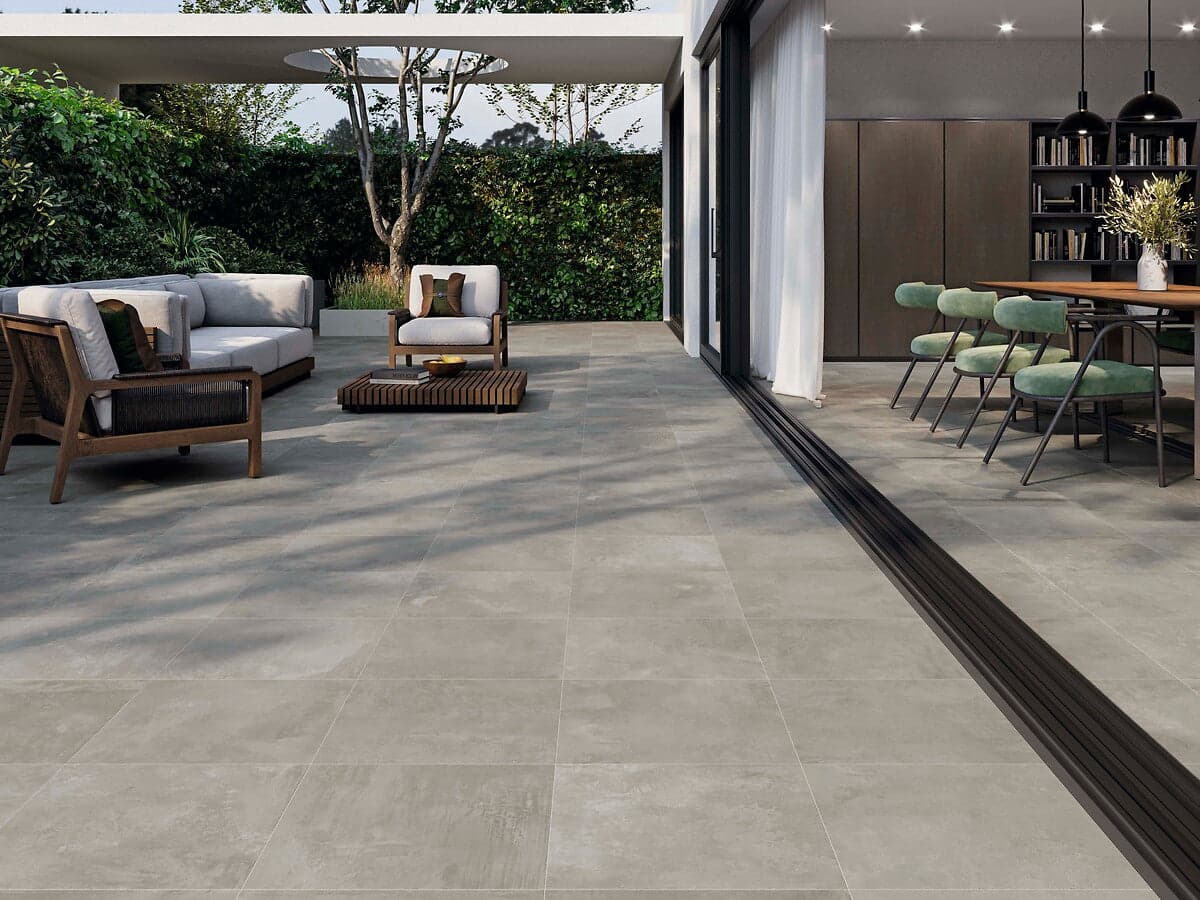
Outdoor tiles are among the most popular ways to finish a patio, garden path, or terrace.
They are durable, easy to maintain and available in a huge range of styles. This guide from Parkside covers everything you need to get started, from choosing the right tiles to grouting the finished surface.
Please note:If you are in search of tiling advice for a commercial project, please contact us for tailored advice applicable to the Parkside range you wish to use.
Before You Start: Choosing The Right Tiles
Not all tiles are suitable for outdoor use. As a general consumer, the easiest way to choose the correct tile is to look for tiles that are specified for outdoor/exterior use.
In short, outdoor tiles must be able to withstand different weather conditions while also providing a safe and practical surface for walking on. This means that when buying outdoor tiles, you need to check that they are rated for outdoor surfaces rather than intended purely for indoor use.
General use:
- Frost resistant: Essential in the UK. Tiles that are not frost resistant will crack and flake over winter.
- Slip resistant: Look for an R10 or R11 rating, or a slip resistance value marked as suitable for outdoor use. This matters most when tiles are wet.
- 20mm thickness: Most outdoor tiles are 20mm thick. This extra depth gives them the strength to handle outdoor conditions and everyday foot traffic.
For commercial exterior applications, look for tiles that meet or exceed the following specifications:
- Thickness: 20mm for new installations over a prepared base. 10mm tiles are acceptable over a solid, stable existing slab but 20mm is recommended for longevity.
- Frost resistance: Tiles should conform to BS EN ISO 10545-12, with water absorption below 0.5%. Most quality porcelain paving tiles meet this as standard.
- Slip resistance: The UK minimum for outdoor surfaces is R11 (DIN 51130) or a Pendulum Test Value (PTV) of 36 or above (classified as Low Slip Potential under BS 7976). R10 may be acceptable for sheltered terraces. Always check the manufacturer's declared values.
- Breaking strength: Outdoor tiles should meet BS EN ISO 10545-4 with a breaking strength suitable for pedestrian and light-use applications.
Good to know: At Parkside, we specify tiles for commercial environments including exterior tiles. This ensures your tiles will be matched to their intended usage.
What You’ll Need: Tools & Materials
Gather everything before you start. Interrupting a laying job to source materials mid-process leads to adhesive skinning over, alignment errors and wasted tiles.
Tools
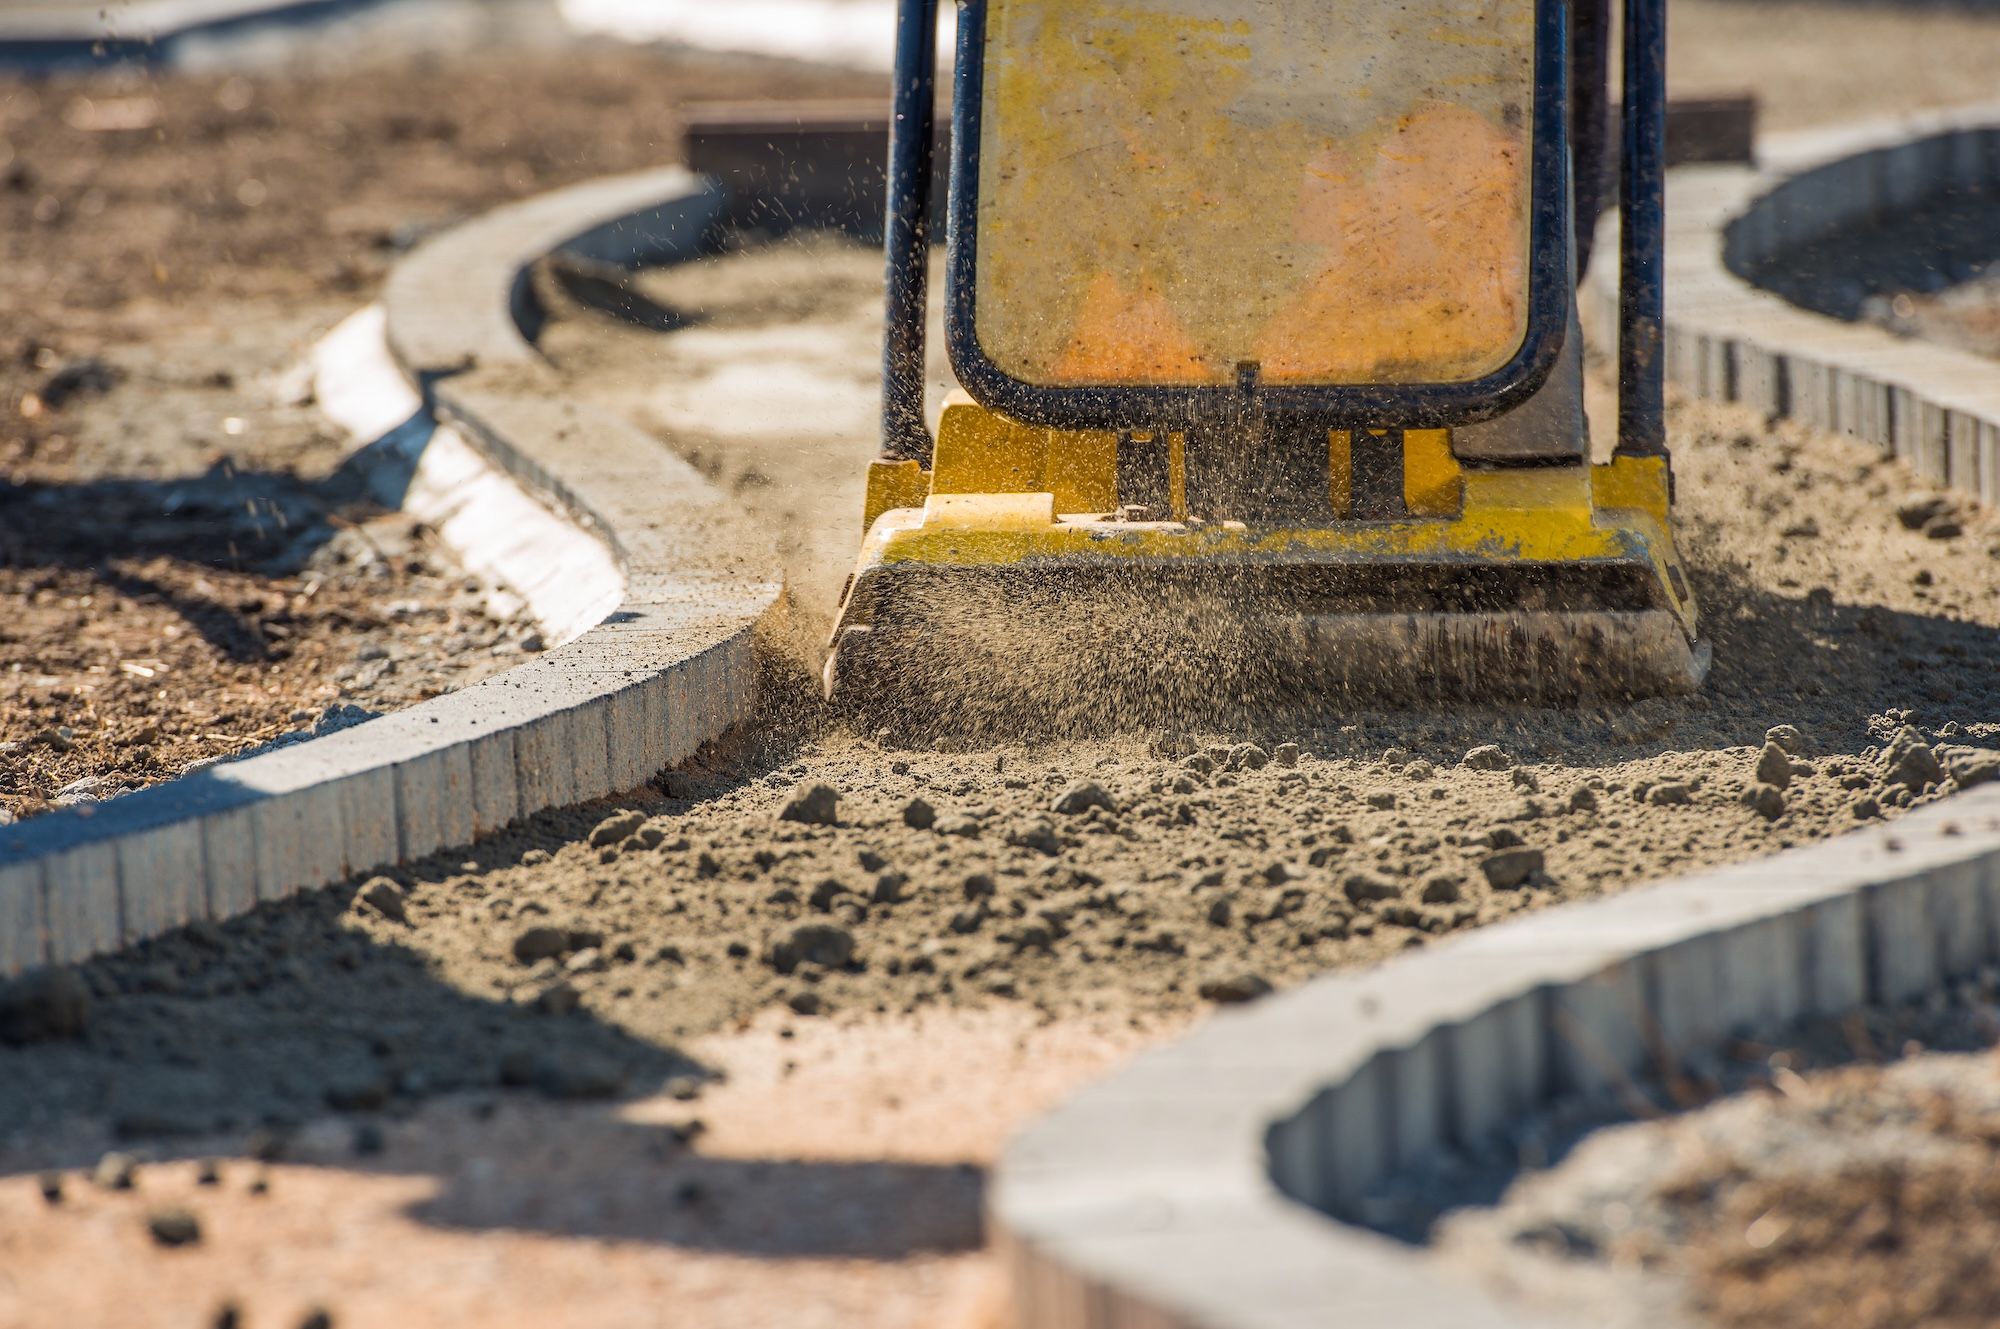
- Spade and compactor plate (for base preparation)
- Cement mixer or large mixing bucket
- Notched trowel (10mm notch for outdoor adhesive application)
- Rubber mallet
- Spirit level (minimum 1.8m for checking falls across multiple tiles)
- Tile spacers (5-10mm for external joints)
- Angle grinder with diamond blade or bench tile saw
- Tape measure and chalk line
- Tile levelling system (recommended for large format tiles)
- Grout float and sponge
- Safety goggles, gloves and dust mask (RPE rated FFP2 or above)
Materials
- Outdoor porcelain tiles (order 10-15% extra to account for cuts and breakages)
- Type 1 MOT sub-base (for new base builds)
- C30 reinforced concrete or cement-sand screed (for base construction)
- C2 S1 classified polymer-modified tile adhesive (frost-resistant, for use over concrete)
- Slurry primer or SBR bonding agent (for back-buttering non-porous tiles)
- CG2 flexible frost-resistant grout
- External-grade movement joint sealant (polyurethane or neutral-cure silicone)
- Optional: impregnating sealer for natural stone
Preparing the Base
Base preparation is the most important stage of any outdoor tile installation. The vast majority of tile failures, including cracked tiles, lifting, hollow spots and frost damage, trace back to an inadequate or poorly prepared sub-base. Do not rush this stage.
Building A New Base From Scratch
If you are starting from bare ground, the following sequence applies:
- Excavate the area. Dig out to a minimum depth of 225mm below the intended finished tile level. Ensure the excavated sub-grade already incorporates the correct drainage fall (minimum 1:60 away from the building). Account for this fall throughout all subsequent layers.
- Install Type 1 MOT sub-base. Lay and compact 100-150mm of Type 1 MOT granular fill in layers, using a vibrating compactor plate. Do not compact more than 75mm at a time. Check the fall is maintained throughout.
- Pour the concrete slab. A minimum 100mm C30 reinforced concrete slab is standard for domestic patios. Include A142 mesh reinforcement, supported on spacer blocks to ensure it sits in the centre of the slab depth. Maintain the drainage fall. Allow a minimum of four to six weeks for curing before tiling. Rapid-cure systems are available but always follow the manufacturer's guidance.
- Install movement joints. Concrete slabs require movement joints at regular intervals (typically every 3-4.5m) and at all junctions with walls, steps and fixed structures. These joints must continue through the tile layer and be filled with a flexible polyurethane or silicone sealant, never adhesive or grout.
Tiling Over an Existing Concrete Slab
If a sound concrete base already exists, the preparation process is less intensive but still requires care.
- Inspect and assess the slab. The slab must be structurally sound, with no significant cracking, movement or soft spots. Tap the surface; hollow areas indicate delamination or voids that must be addressed before tiling. The surface flatness should be within plus or minus 3mm over any 2m straight edge.
- Check the drainage fall. The slab must drain away from the building at a minimum of 1:60 (approximately 17mm per metre). A fall of 1:80 is adequate for sheltered areas. If the slab is flat or falls towards the building, corrective work is required before proceeding.
- Clean and degrease. Remove all contamination, including oil, laitance, paint and biological growth. Mechanically prepare the surface using a grinder or shot blaster if necessary. A clean, slightly rough surface achieves the best adhesive bond.
- Apply a bonding primer. For existing concrete, apply an SBR bonding agent or proprietary primer as directed by the adhesive manufacturer. This is particularly important over dense, smooth concrete surfaces.
Do not tile over an existing patio that is in poor condition, shows signs of movement or is not properly drained. The cost of proper remediation is far less than the cost of a failed installation.
Drainage Falls: Why They Matter
All outdoor tile surfaces must slope away from the building. A minimum 1:60 fall is required to prevent water pooling, which causes moss growth, tile lifting and long-term frost damage. On sheltered areas or under canopies, 1:80 is acceptable. The fall must be incorporated into the base, not created by varying the adhesive thickness.
Planning Your Tile Layout
Never begin laying tiles without a dry run. A poorly planned layout results in awkward cuts at visible edges, misaligned joints and an unbalanced finish.
- Establish a datum line. Use a chalk line to mark a true right angle across the area. Start from the most visually prominent edge, typically the threshold between inside and outside, or the longest wall. This line becomes your reference for all subsequent tile positions.
- Lay out the tiles dry. Place tiles across the full area without adhesive, using spacers to represent the joint width. Check where cuts will fall. Aim for cuts of at least half a tile width at all perimeters. Avoid slivers of less than 50mm at visible edges.
- Account for obstacles. Mark the positions of drains, step edges and fixed furniture. Drains should ideally sit within a joint line rather than requiring the tile to be cut around them. If this is not possible, ensure any cut is neat and sealed correctly.
- Mark your expansion joint positions. Expansion joints should be positioned every 3-4.5m across the tiled area, at all changes of direction and at all junctions with vertical surfaces. Mark these positions on the base before laying.
Mixing The Adhesive
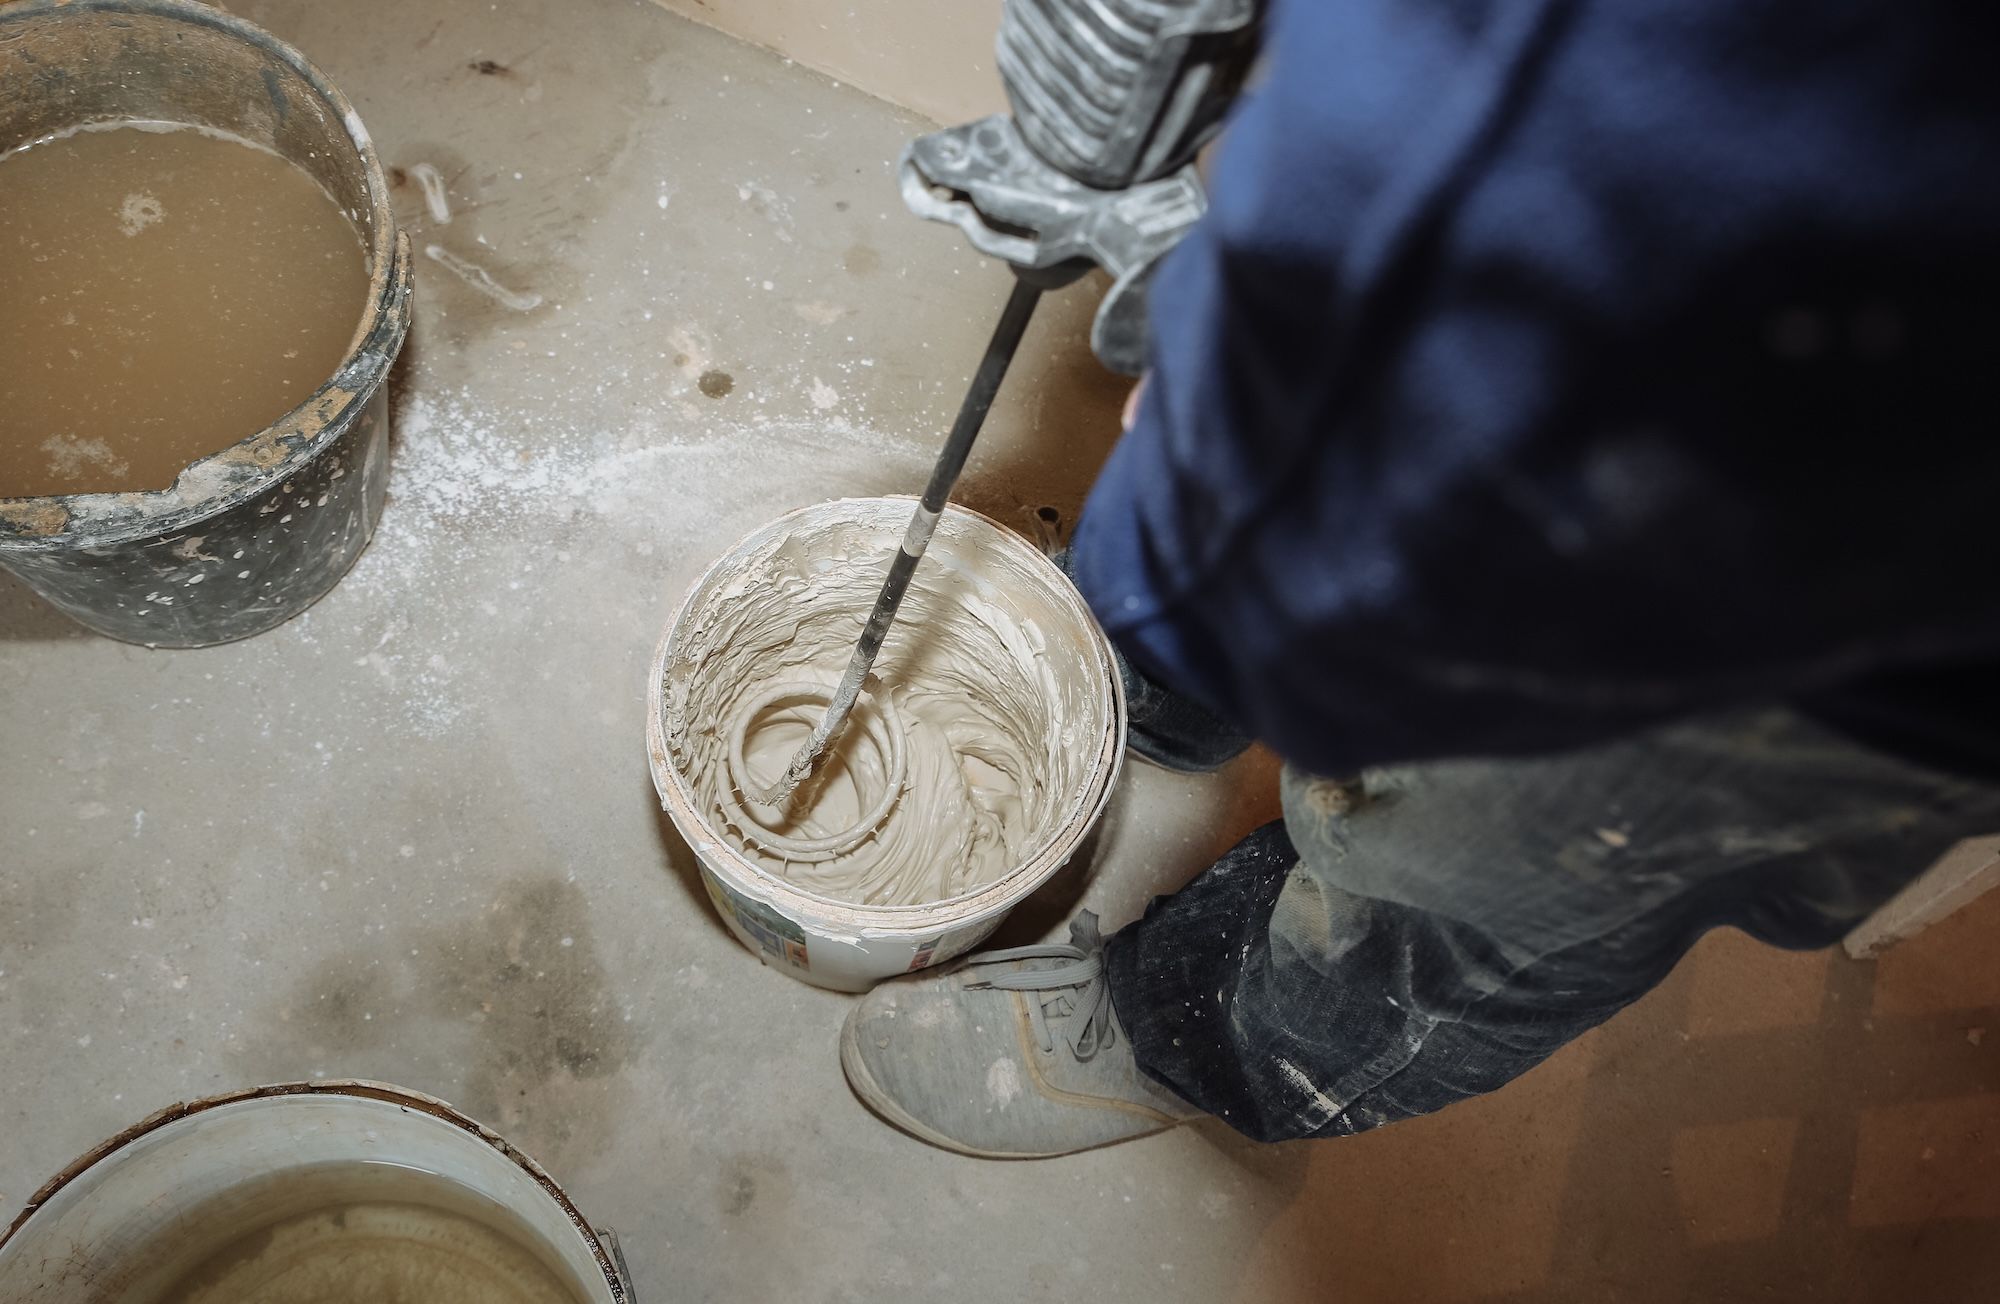
Mix the adhesive strictly according to the manufacturer's instructions. Use a clean bucket and clean water. Over-watering weakens the adhesive and reduces its performance. Mix to a smooth, lump-free consistency with no dry powder remaining. A paddle mixer attached to a drill produces a more consistent result than hand mixing.
Only mix what you can use in 20-30 minutes. Adhesive that begins to skin over must be discarded, not thinned with water and re-mixed.
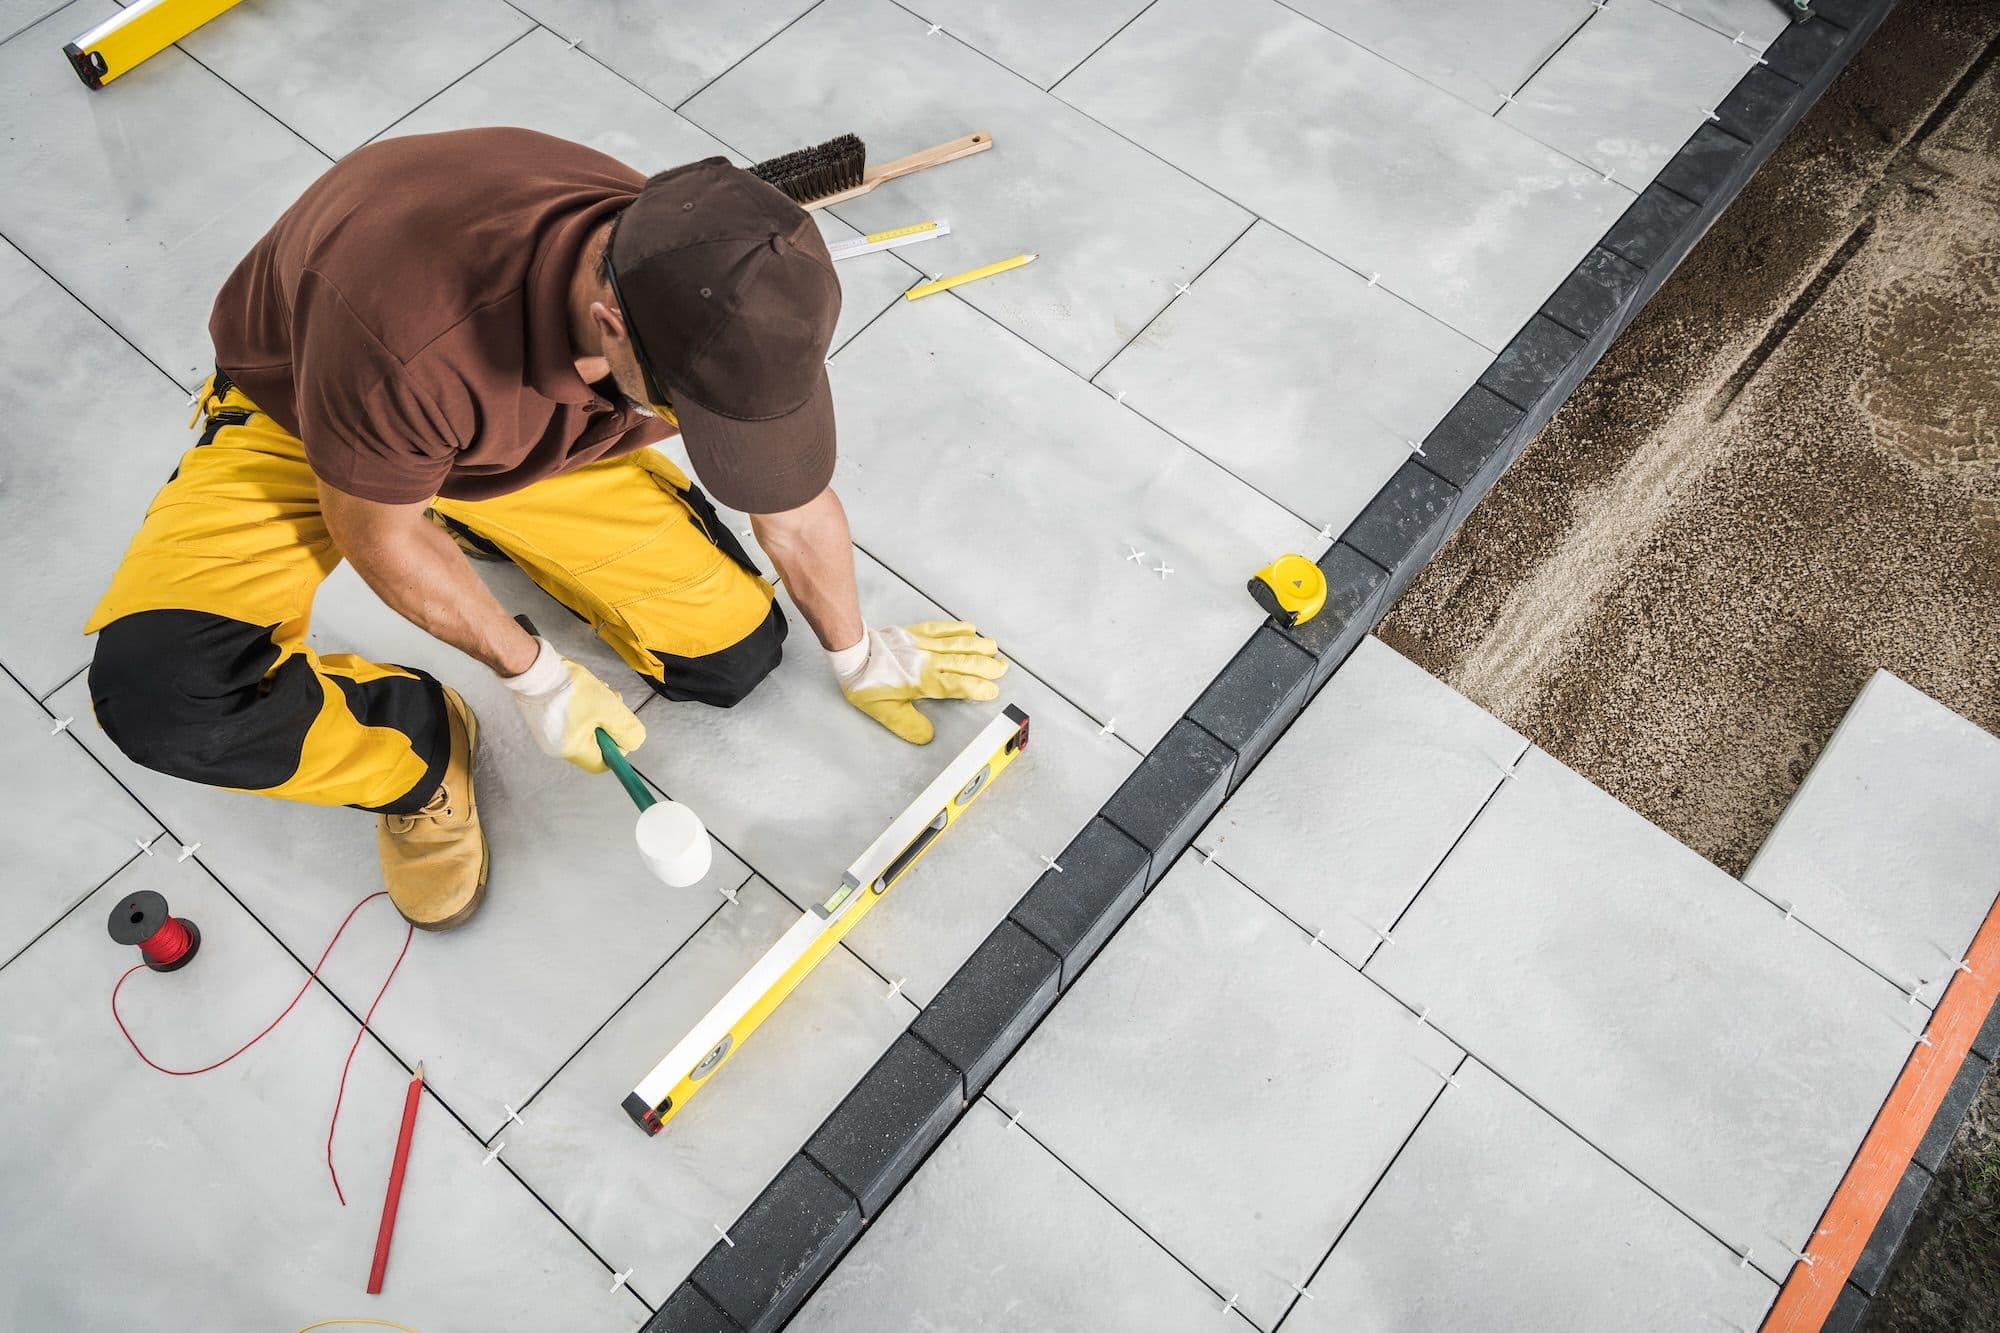
Applying Adhesive and Laying Tiles
- Apply adhesive to the base using a 10mm notched trowel. Work in sections of no more than 1 square metre at a time. Comb the adhesive in one direction to create consistent ribs.
- Back-butter each tile. Apply a thin, even skim of adhesive to the back of the tile before laying. Back-buttering is essential for external tiling. It eliminates air voids beneath the tile and ensures full coverage. Any void beneath an outdoor tile is a potential site for frost damage.
- Lay the tile onto the adhesive using a sliding motion. This collapses the adhesive ribs and promotes maximum contact. Bed the tile firmly using a rubber mallet, tapping evenly across the surface.
- Check for full coverage. Before laying more than two or three tiles, lift one and inspect the back. You should see at least 80% coverage across the tile face, with even contact. Voids, uncovered areas or adhesive ribs still intact indicate insufficient coverage or incorrect application technique.
- Maintain joint widths using tile spacers or a tile levelling system. A levelling system is strongly recommended for tiles 600mm and above, as it reduces lippage and speeds up the process considerably.
- Check the fall continuously. Use a long spirit level to confirm the drainage slope is being maintained as you work. Correct any high or low tiles before the adhesive sets.
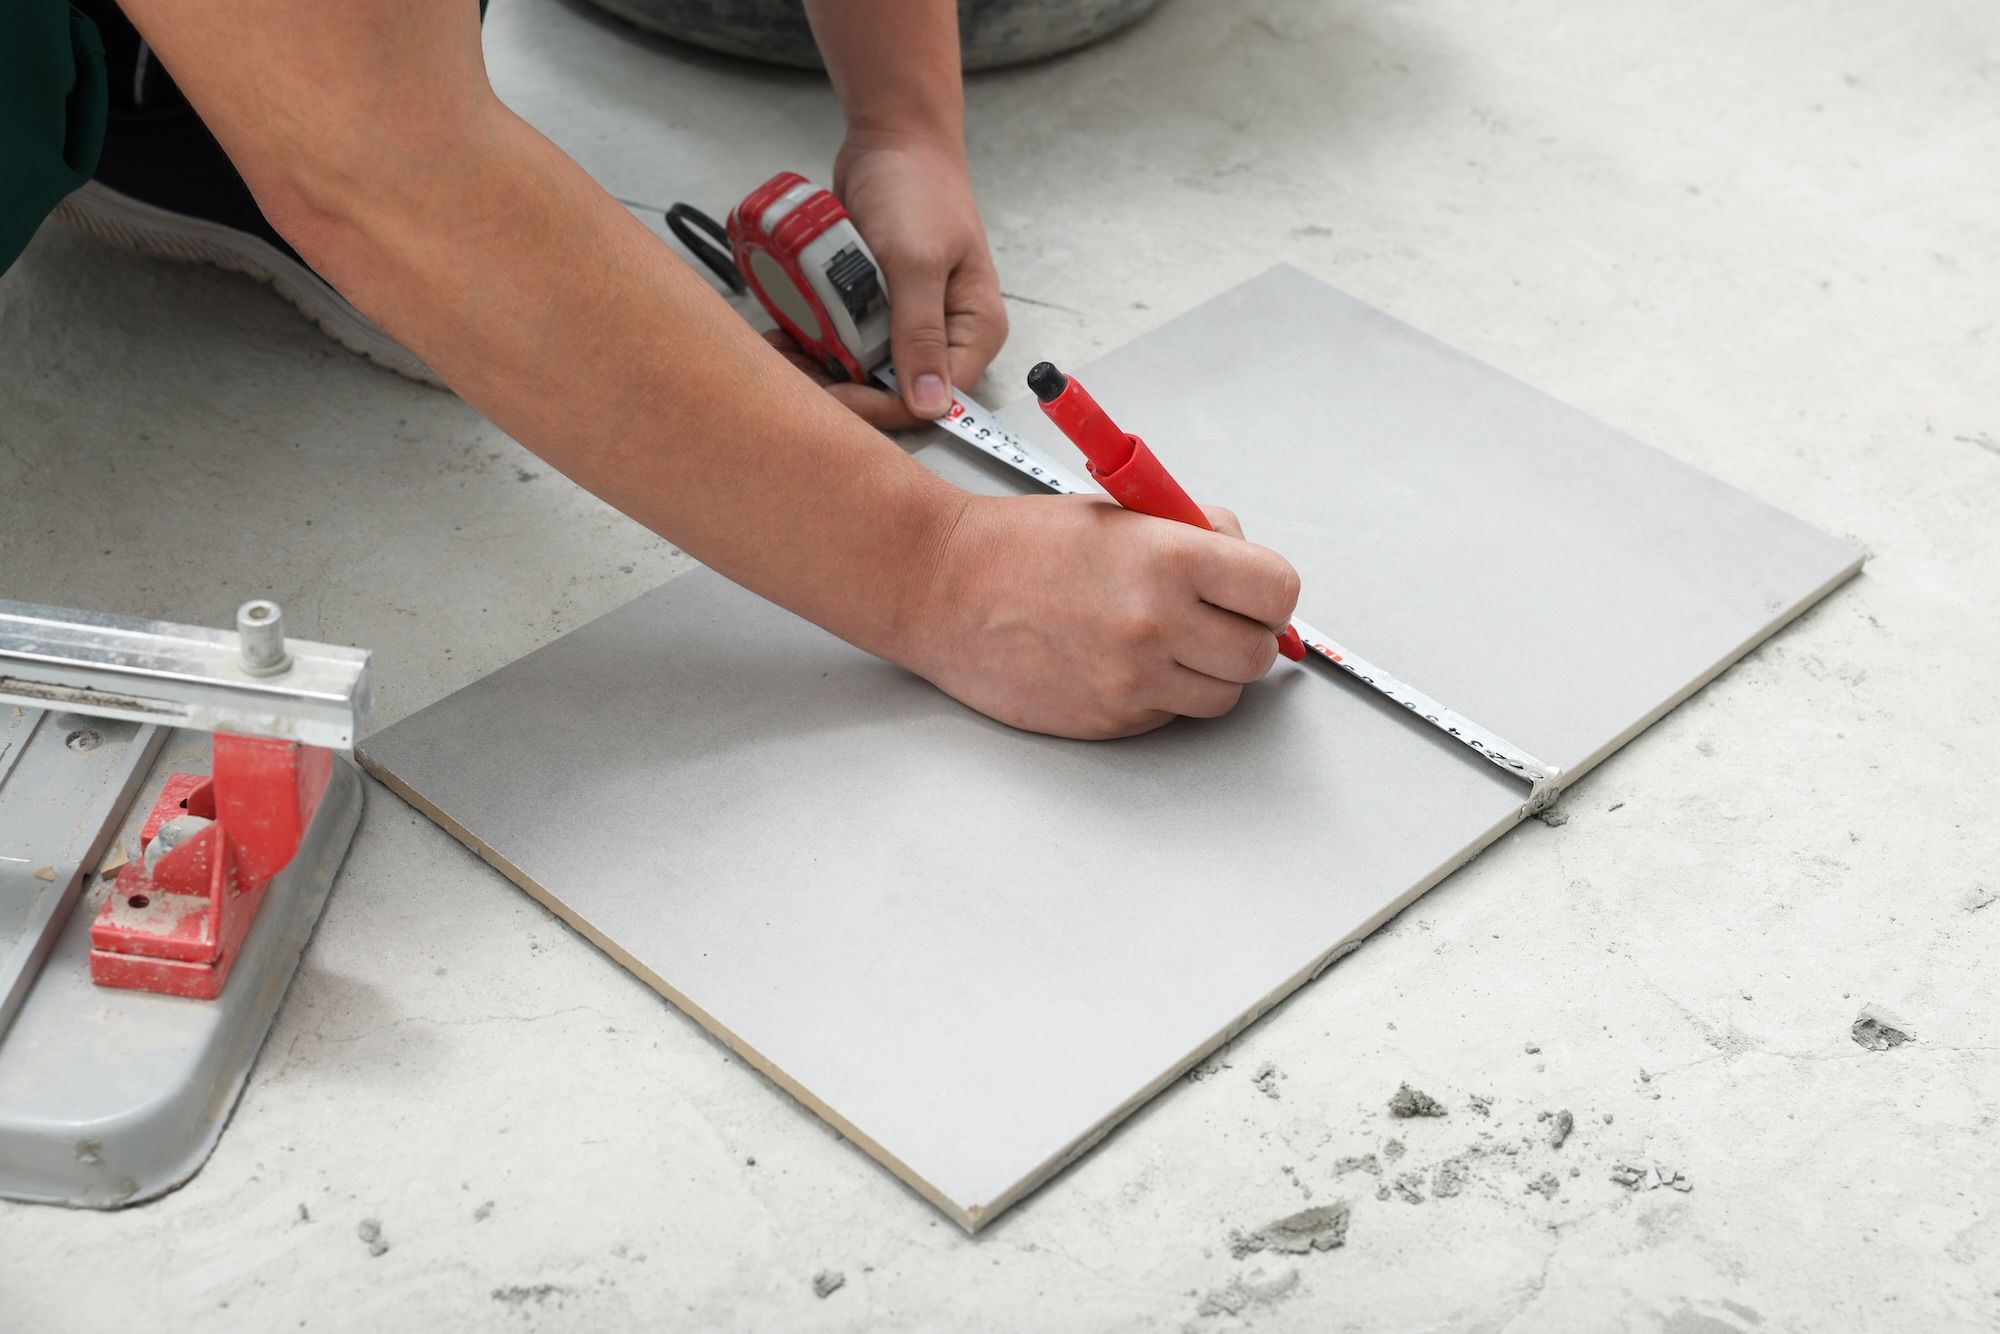
Cutting Tiles
For straight cuts, a bench-mounted wet tile saw gives the cleanest result and is suitable for 20mm porcelain. An angle grinder with a diamond blade can be used for straight cuts and shaped cuts around drains or curved edges. Always wet-cut porcelain; dry cutting generates silica dust, which is a respiratory hazard. Wear RPE rated FFP2 or above when cutting.
Smooth all cut edges with a diamond hand pad before laying. Cut tiles should be placed last, after all full tiles are down, so the joint width between the cut edge and the perimeter can be adjusted if necessary.
Allowing the Adhesive to Cure
Allow the adhesive to cure fully before grouting. Most C2 S1 adhesives require 24 hours at 20 degrees Celsius. In cooler UK conditions (below 10 degrees), cure times extend significantly. Do not lay tiles if ground or air temperature is at or below 5 degrees, as adhesive will not cure correctly. Protect freshly laid tiles from frost, rain and foot traffic until the adhesive is fully cured.
Movement Joints: An Essential Detail
Movement joints are among the most frequently overlooked aspects of outdoor tiling, and their absence is a leading cause of cracked or lifted tiles. Porcelain and concrete both expand and contract with temperature changes. Without movement joints, that movement has nowhere to go.
- Movement joints must be installed at maximum 3-4.5m intervals across the tiled field
- They must be installed at all perimeter junctions: where tiles meet walls, steps, columns or any fixed structure
- They must continue through the full depth of the tile and adhesive bed, down to the concrete substrate
- They must be filled with a flexible polyurethane or neutral-cure silicone sealant rated for external use, not grout
- If a movement joint already exists in the concrete sub-base, it must be replicated in the tile layer directly above it
Movement joint sealant is available in a range of colours to match grout. Take time to select a colour that complements the tile, as movement joints at perimeters are visible in the finished installation.
Grouting Outdoor Tiles

Use a CG2 classified flexible, frost-resistant grout for all outdoor applications. Standard CG1 grout is not suitable for external use. For joints wider than 5mm, a grout that includes aggregates for gap-filling is preferable.
The grouting process
- Check that the adhesive is fully cured before grouting. Remove all tile spacers and clean out joints using a grout rake or screwdriver if necessary.
- Mix the grout to a smooth, consistent paste following the manufacturer's instructions.
- Apply grout using a rubber grout float, working it firmly into the joints at a diagonal angle to the joint direction. Work in manageable sections.
- Remove excess grout from the tile face using the edge of the float before it begins to set.
- Clean off the grout haze using a damp sponge, rinsing frequently. Work in circular motions. Do not over-wet the joints at this stage.
- Allow the grout to cure fully, typically 24-48 hours. Protect from rain during this period.
- Once cured, buff off any remaining haze with a dry cloth.
Grouting at Movement Joints
Do not grout movement joints. These must remain clean, open and filled only with the appropriate flexible sealant. Apply masking tape either side of the joint, apply the sealant and tool it smooth before removing the tape. Allow to cure fully before allowing foot traffic.
Sealing Outdoor Tiles
Most glazed porcelain outdoor tiles do not require sealing. The glazed surface is impermeable and provides inherent stain resistance. However, there are situations where sealing is beneficial:
- Unglazed porcelain: Apply an impregnating sealer before grouting to prevent grout staining the tile surface. The sealer should be rated for external use.
- Natural stone: Always seal before grouting and reapply periodically. The frequency depends on the stone type and exposure, but every two to three years is a reasonable guide for most exterior stone.
- Matt or textured surfaces: Some textured tiles benefit from sealing to reduce dirt penetration into the surface texture. Check the manufacturer's recommendation.
Never use a surface-coating sealer on outdoor tiles. Surface coatings will peel under UV exposure and thermal cycling.
Common Mistakes to Avoid
- Insufficient base depth: A base that is too shallow will flex under load or heave during frost cycles. Always achieve the minimum specified depths.
- Inadequate drainage fall: A flat patio retains water. Even 1:100 is insufficient; use a minimum of 1:60.
- Using indoor adhesive: C1 or non-frost-rated adhesive will fail over a UK winter. Always use a C2 S1 frost-resistant product.
- No back-buttering: Applying adhesive only to the substrate leaves voids beneath the tile. Full coverage is essential outdoors.
- Omitting movement joints: This is the single most common cause of tile blow-off and cracking on terraces and patios. Plan joints before you start.
- Tiling in cold conditions: Below 5 degrees, adhesive will not cure. Frost on freshly laid tiles can destroy the bond completely.
- Using grout in movement joints: Grout is rigid and will crack under the movement it is designed to accommodate. Only flexible sealant belongs in a movement joint.
- Cutting without dust suppression: Dry cutting porcelain produces silica dust, which causes serious respiratory disease. Always wet cut or use a vacuum-equipped saw.
Maintenance and Aftercare
A well-laid outdoor tile installation requires very little maintenance. The following routine is sufficient for most porcelain patio surfaces:
- Sweep regularly to prevent debris and organic matter building up in joints
- Wash down with clean water and a mild pH-neutral detergent as needed
- Use a stiff brush rather than a pressure washer at close range, as high-pressure water can erode grout joints over time
- Inspect grout joints and movement joint sealant annually. Repoint or reseal any sections that show cracking or separation
- Apply a fresh coat of sealer to natural stone or unglazed tiles every two to three years
- Remove moss or algae with a proprietary patio cleaner rated as safe for the tile type
Avoid acidic cleaning products on natural stone or calcium-based grouts. Hydrochloric acid-based cleaners, sometimes sold for cleaning cement residue from porcelain, must be diluted correctly and rinsed off immediately. Never use them on stone.
Shop Outdoor Tiles For Commercial Project At Parkside
Now you know all of the steps involved in laying outdoor tiles, it’s time to browse our exterior tile range here at Parkside for your next project.
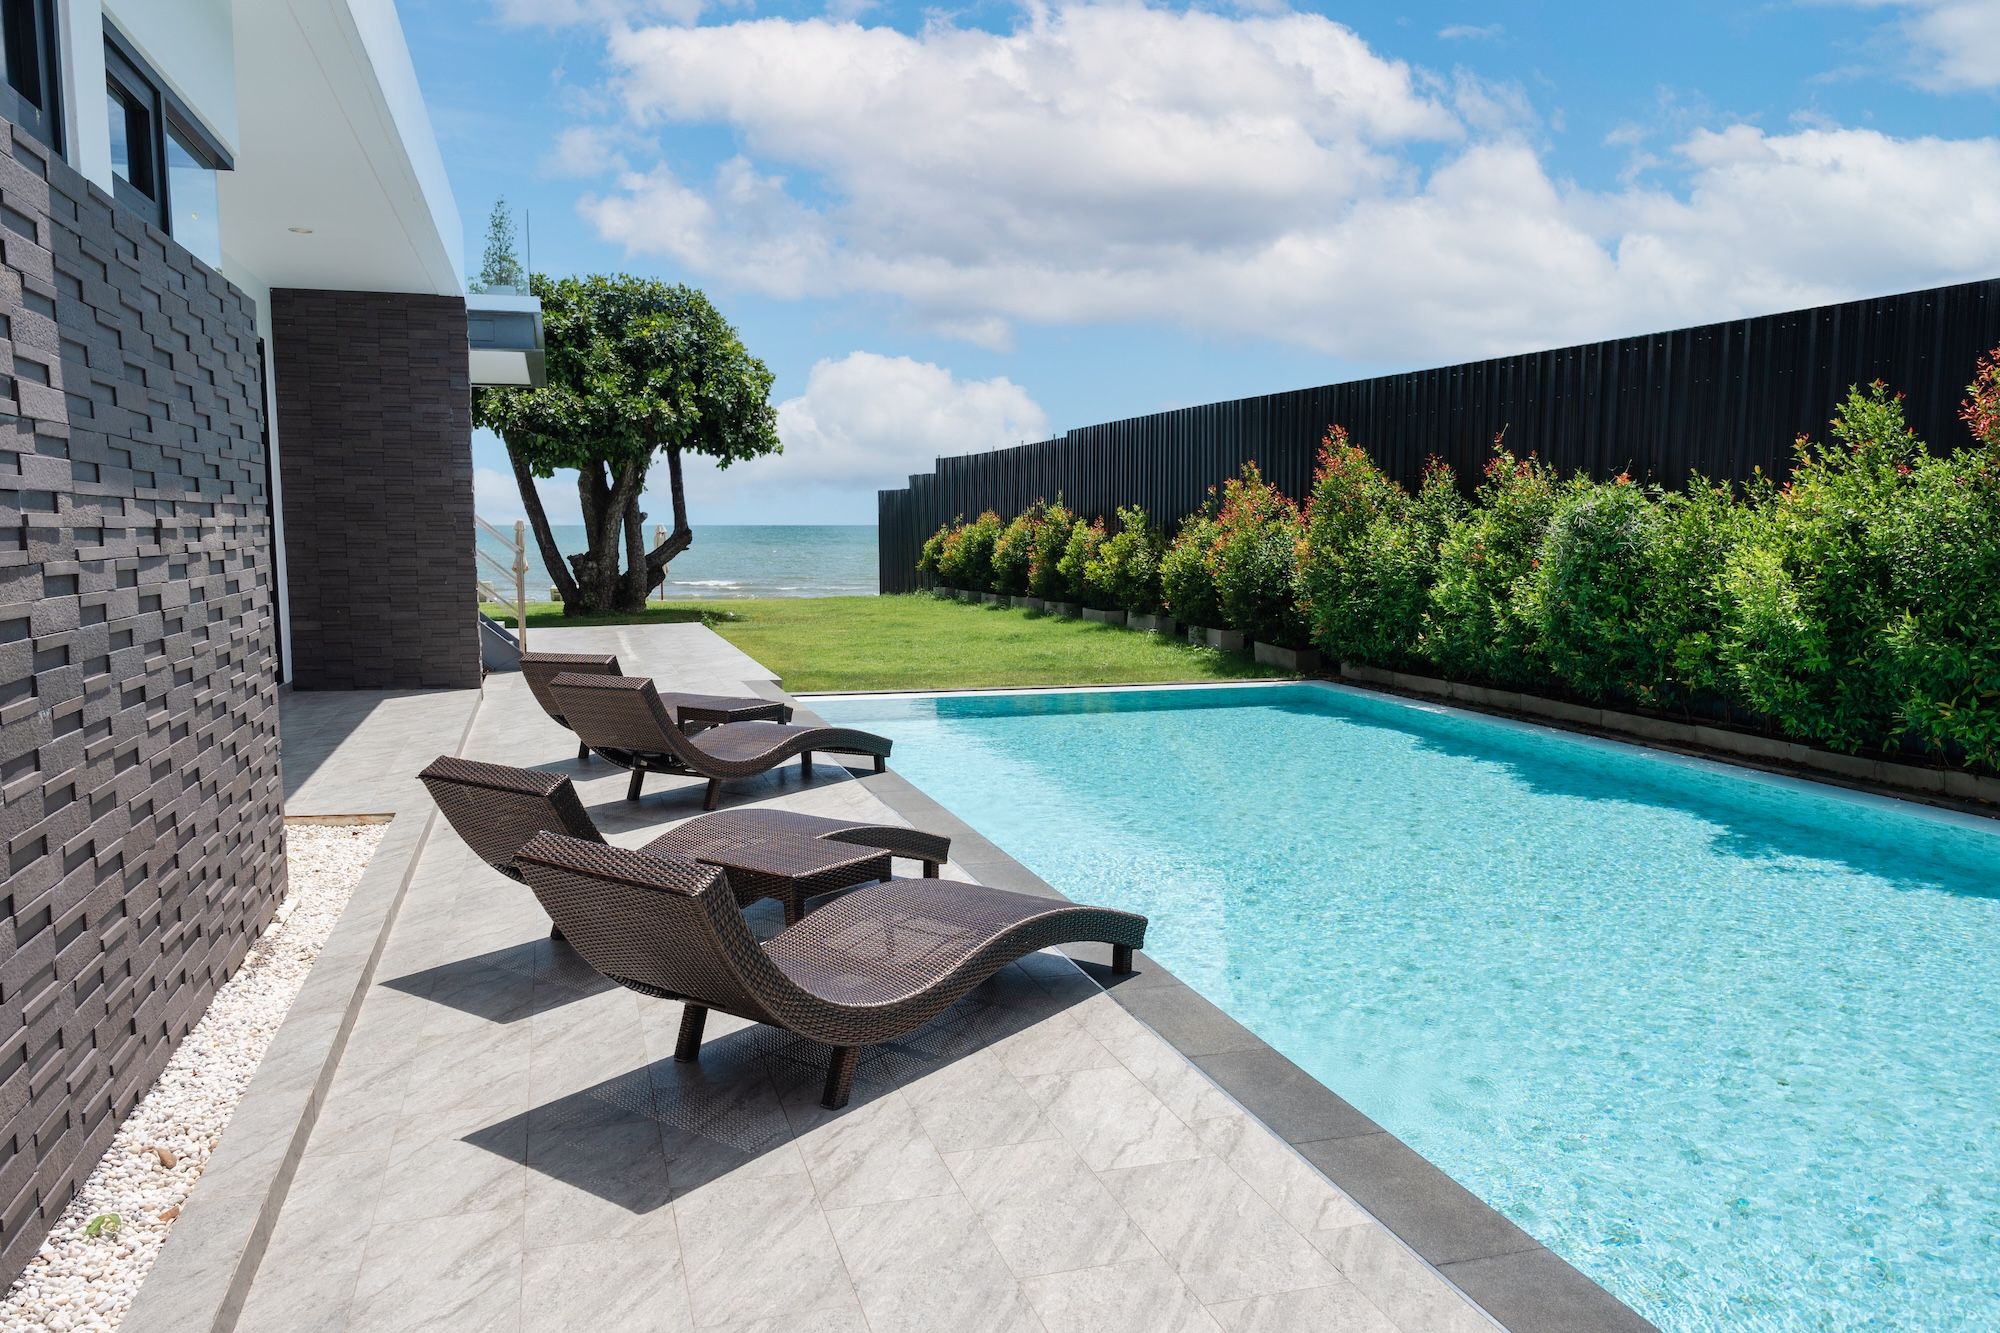
Parkside supplies tiles for a wide variety of commercial settings, including outdoor patios, swimming pool surrounds and more.
To discuss an exterior tile specification for a commercial project, please give us a call on 0116 276 2532.
You can also discover our outdoor tiles at any of our design studios located in Glasgow, Leicester, London and Manchester.

