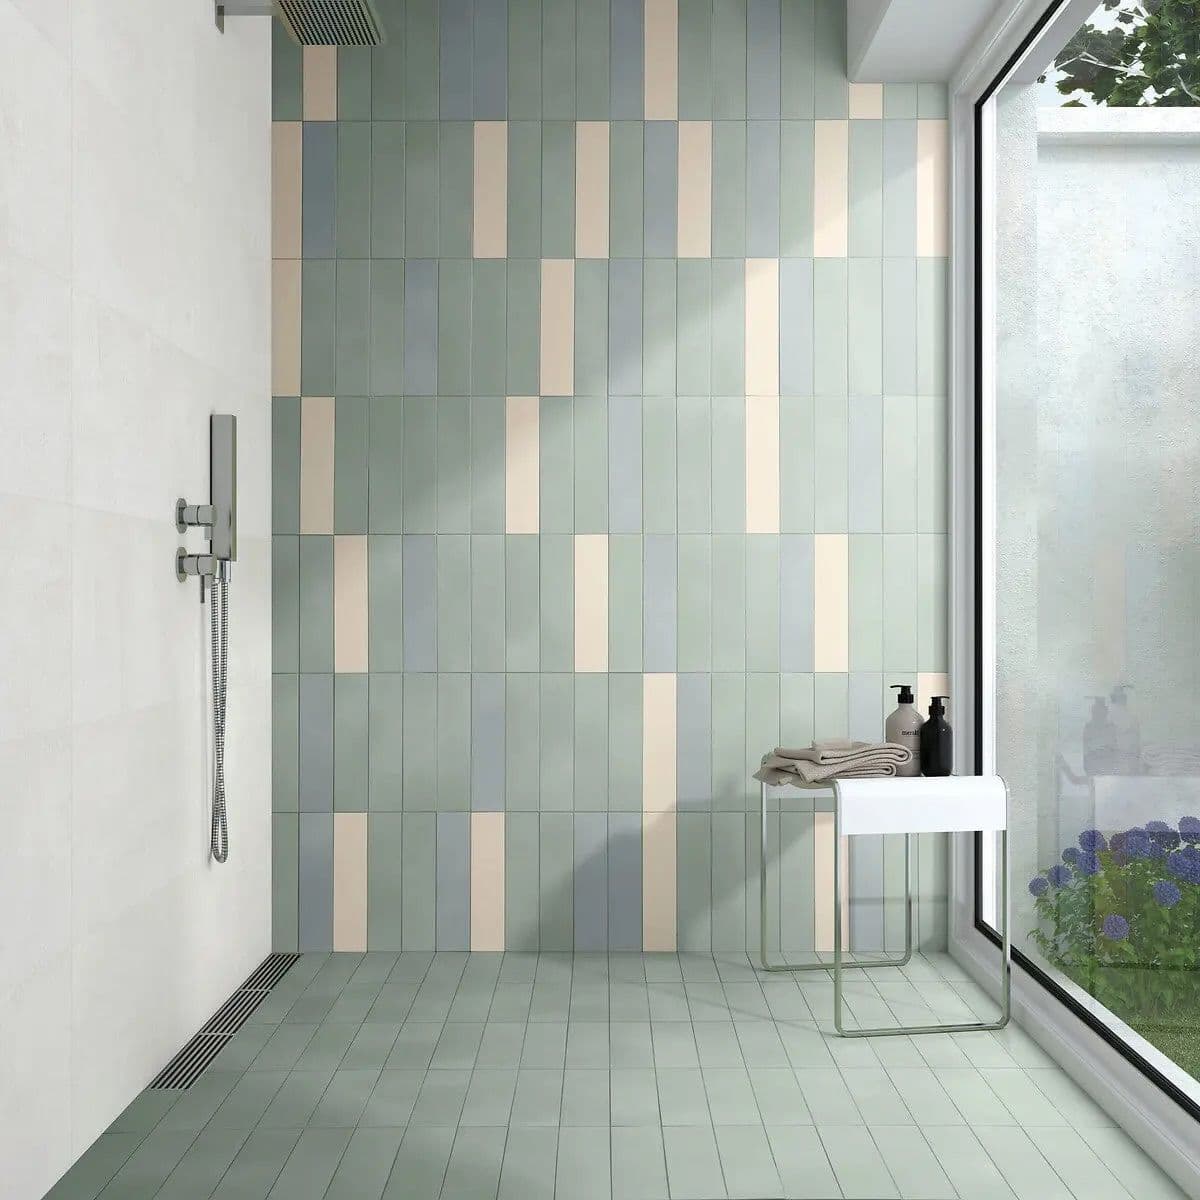
A well-specified shower enclosure is only as good as its maintenance routine. Tiles that are poorly cleaned accumulate soap scum, limescale and organic residue in the grout lines, which degrades the finish over time and can accelerate grout deterioration.
It's really important that the cleaning method you use accounts for the tile material, the grout type and the specific problem you are dealing with.
This guide from the Parkside team covers the practical steps for cleaning porcelain, ceramic and natural stone shower tiles for hotels, spas and other commercial settings.
Know Your Tile Material Before You Clean
The single most important factor in shower tile cleaning is matching your cleaning product to the tile material.
Using the wrong cleaner, particularly an acidic one on a natural stone tile, can cause irreversible surface damage. The three main categories you will encounter in a shower enclosure are as follows:
Porcelain Tiles

Shop the look:
Porcelain is the most specification-friendly material for wet areas. It has a water absorption rate of less than 0.5% under BS EN 14411, which means it resists moisture penetration at the body of the tile.
Polished and lappato porcelain finishes will show watermarks and soap scum more readily than a matt or structured surface, but all porcelain responds well to pH-neutral cleaners and diluted general-purpose bathroom sprays.
Avoid abrasive pads on polished surfaces, as these will scratch the glaze.
Ceramic Tiles

Shop the look:
Ceramic wall tiles are less dense than porcelain and have a higher absorption rate, though the glazed surface itself repels moisture. The same pH-neutral approach applies.
Avoid anything strongly acidic or strongly alkaline on the glaze, as prolonged exposure can dull the surface finish.
White ceramic tiles in particular show grout haze and soap residue clearly, so more frequent light cleaning tends to be more effective than infrequent deep cleans.
Natural Stone Tiles

Shop the look:
Natural stone, including marble, travertine and limestone, requires the most careful approach. These materials are calcium-based and will react with acidic cleaners, including vinegar, lemon juice and many proprietary bathroom cleaners.
Even short contact with an acidic product can etch the surface, removing the polish and leaving a dull, cloudy mark that cannot be reversed without re-polishing.
Always use a cleaner specifically formulated for natural stone and confirm that the product is pH-neutral before use.
Natural stone in a shower also requires a correctly applied penetrating sealer, renewed at the interval recommended by the stone manufacturer, to reduce surface absorption.
How To Clean Shower Tiles: Step-By-Step
The following process applies to porcelain and ceramic tiles.
Natural stone owners should substitute a pH-neutral stone cleaner at every product stage and avoid the vinegar-based options mentioned in the grout section below.
- Ventilate the space. Open a window or run the extractor fan before you start. This keeps you comfortable when working with cleaning products and helps the shower dry faster afterwards.
- Rinse the tiles with warm water. Use the showerhead to wet the tile surface. This softens dried soap scum and loosens surface debris before any product is applied.
- Apply a pH-neutral bathroom cleaner. Spray evenly across the tile faces and allow the product to dwell for two to three minutes. Do not let it dry on the surface.
- Work from top to bottom. Use a soft cloth or non-scratch sponge to clean the tile faces, starting at the top of the enclosure and working downwards so loosened residue falls clear of already-cleaned areas.
- Rinse thoroughly. Remove all cleaning product residue with warm water. Product left on the surface will attract further dirt and leave a film that dulls the tile appearance.
- Dry the surfaces. Use a squeegee or clean microfibre cloth to remove standing water from the tile faces and grout lines. This step significantly reduces the rate at which limescale and soap scum redeposit.
How to Clean Grout in a Shower
Grout is a porous, cementitious material that absorbs moisture readily, which makes it the part of the shower that shows soiling first. Addressing grout separately from the tile faces gives better results than treating both the same.
Light Discolouration & Soap Residue
Apply a baking soda paste, made by combining baking soda with a small amount of water to a thick consistency, directly to the grout lines. Allow it to sit for five to ten minutes, then scrub with a stiff nylon brush or an old toothbrush along the grout line. Rinse with clean water. This approach is safe for all grout types and all tile materials, including natural stone.
Mould & Mildew In Grout Lines
Mould growth in grout is a common issue in shower enclosures with poor ventilation or infrequent cleaning. The grout absorbs organic residue from soap and skin, which provides a nutrient source for mould spores in the warm, humid shower environment.
For porcelain and ceramic tile installations, a diluted bleach solution of one part bleach to three parts water is effective on sealed or glazed grout. Apply to the affected lines, allow ten to fifteen minutes of contact time, scrub with a nylon brush, then rinse completely. Ensure the space is ventilated before and during use, and wear gloves. Do not mix bleach with vinegar or any other cleaning product.
For natural stone tile installations, bleach carries a risk of surface damage depending on the stone and sealant condition. An oxygen-based cleaner, such as a product containing hydrogen peroxide or sodium percarbonate, is a safer alternative. Apply the product as a paste to the grout lines, leave for the manufacturer-recommended dwell time, then scrub and rinse.
Where mould is returning repeatedly in the same location, this often indicates a ventilation problem rather than a cleaning frequency issue. Increasing post-shower extraction time or installing a humidity-controlled fan will reduce the conditions that allow mould to establish.
How to Remove Limescale From Shower Tiles
Limescale is a calcium carbonate deposit that forms when hard water evaporates and leaves mineral residue on tile and grout surfaces. It appears as a white or off-white chalky film, most visible around the showerhead outlet, at tile junctions and along grout lines. The majority of the UK has moderately hard to very hard water, particularly in the South and East, which makes limescale a routine maintenance issue.
For porcelain and ceramic tiles, a diluted white vinegar solution is an effective limescale remover. Mix equal parts white vinegar and water in a spray bottle, apply to the affected areas and allow five to ten minutes of contact time before scrubbing gently and rinsing. For heavier deposits, a purpose-made limescale remover formulated for bathroom tiles will work more quickly.
Do not use vinegar or any acidic limescale remover on natural stone tiles. The acid will react with the calcium carbonate in the stone itself, not just the limescale deposit, and will permanently etch the surface. Use only a limescale remover confirmed as safe for natural stone, or speak to your stone supplier for a product recommendation specific to the material you have installed.
Removing Soap Scum From Shower Tiles

Soap scum forms when the fatty acids in bar soap react with the minerals in hard water, leaving an insoluble residue on tile surfaces. It appears as a grey or white film and is more pronounced on matt surfaces than polished ones, where it can sit in the texture of the tile.
A pH-neutral bathroom cleaner with surfactants will cut through light soap scum during routine cleaning. For heavier build-up, a paste of baking soda applied to the tile face and left for five minutes before scrubbing will lift the residue without scratching the surface. Rinse fully with warm water.
Switching from bar soap to liquid soap or body wash will significantly reduce the rate of soap scum formation.
Maintaining Shower Tiles Long Term

Get the look: A combination of Boston and Kit tile collections.
The frequency and method of your routine cleaning will determine how much remedial work your shower enclosure needs over time.
The following practices reduce the rate of soiling and extend the life of both the tiles and the grout:
- Squeegee after every use. Removing standing water from tile faces and grout lines after each shower is the single most effective maintenance habit. It reduces limescale deposition, slows soap scum build-up and limits the moisture available for mould growth.
- Run ventilation for at least 20 minutes post-shower. Residual humidity in a shower enclosure sustains the conditions for mould. An extractor fan or open window running after bathing reduces this significantly.
- Clean tile faces weekly. A light wipe-down with a pH-neutral bathroom spray and a microfibre cloth once a week prevents the kind of build-up that requires aggressive cleaning products to shift.
- Attend to grout monthly. A monthly scrub of the grout lines, even with just warm water and a nylon brush, prevents organic residue from establishing and reduces the conditions in which mould can grow.
- Reseal grout periodically. Grout sealer reduces the porosity of the joint material, making it harder for moisture, soap and organic residue to penetrate. Unsealed grout in a heavily used shower will absorb staining quickly. Apply a penetrating grout sealer annually or as directed by the product manufacturer.
- Inspect sealant and caulk lines. The junction between tiles and the shower tray, bath edge or wall is typically finished with a flexible sealant rather than grout. This can crack, peel or discolour over time. Failed sealant allows water to migrate behind the tile installation, so reapply or replace it as soon as deterioration is visible.
Products To Avoid Using On Shower Tiles

Several cleaning products commonly found can damage shower tiles and grout when used incorrectly:
- Acidic cleaners on natural stone. Vinegar, lemon-based cleaners and many commercial bathroom descalers will etch marble, limestone and travertine. Even a single application can permanently damage a polished stone surface.
- Abrasive pads or scouring powders. These will scratch polished porcelain and glazed ceramic tile surfaces. Use soft cloths, sponges or nylon brushes throughout.
- Bleach on unsealed or damaged grout. Bleach can cause discolouration when applied to grout that is unsealed, already degraded or coloured. Test in an inconspicuous area first if you are uncertain of the grout condition.
- Mixed cleaning products. Never combine bleach with vinegar, ammonia or other cleaning agents. The resulting chemical reaction can produce hazardous fumes in an enclosed space.
When purchasing tiles, your chosen product should come with information about installation, cleaning and maintenance requirements. In a commercial context this is standard practice, but it can be just as important for domestic projects. Knowing how to look after your tiles is the best way to ensure a successful installation over the longer term.
Specifying Tiles That Are Easier to Maintain
Material choice at specification stage has a direct impact on the maintenance burden of a shower enclosure over its lifetime.
Parkside works with architects, designers and developers to specify tiles for shower enclosures in hospitality, residential and commercial projects.
For further advice on the maintenance requirements of a tile you wish to purchase from us, please send us a message or give us a call on 0116 276 2532.
You can also talk to our experts at one of design studios. These are located in Glasgow, Leicester, London and Manchester.

